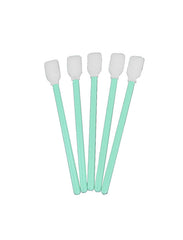
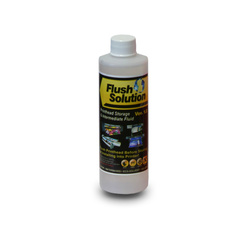
Seiko 64s / HP9000s Print Head Alignment Tool
Elite Inks
INSTRUCTIONS:
- Loosen the 2 screws holding a print head down on the carriage plate, so that the head could move.
- Insert the head alignment tool into the 2 holes in front of the print head. The tip of the tool will get into the V-shaped cutout on the print head. Make sure the tool is sitting tightly without a backlash.
- Push the print head against the tool.
- Tighten the 2 screws to fix the print head, at the same time making sure that the long edge of a print head is parallel to the edge of the slot in the carriage plate.
- Use a small flat screwdriver to pop the head alignment tool out.


STAY IN TOUCH